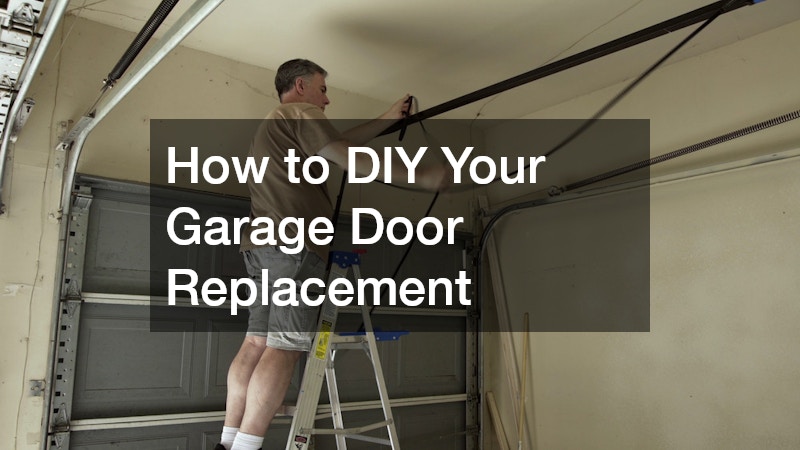
Replacing a garage door can seem like a daunting task, but with a little guidance and the right tools, it can be a rewarding DIY project. In this article, we’ll walk you through the step-by-step process of garage door replacement, ensuring safety and functionality. Whether you’re looking to improve your home’s curb appeal or simply need to replace a malfunctioning door, tackling this project yourself can save you money and provide a sense of accomplishment.
1. What Tools and Materials Do I Need to Replace My Garage Door?
Before you begin the garage door replacement project, it’s crucial to gather all necessary tools and materials. Basic tools such as screwdrivers, a wrench set, a drill, and a tape measure are essential. You may also need specific tools like a torsion spring winding bar if your garage door utilizes a torsion spring system. In addition to tools, ensure you have all the materials needed, such as the new door panels, tracks, rollers, and a new garage door opener if you’re replacing the entire system. Check the manufacturer’s recommendations for any additional specific tools required for your particular garage door model.
The right tools and materials play a critical role in the success of your garage door replacement project. While most tools are readily available at home improvement stores or can be rented, investing in high-quality tools is always advisable for smoother operation and better safety. Garage doors can be heavy and large, and having a reliable ladder or scaffold ensures that you can access higher areas safely. Additionally, purchasing a helpful book on basic garage door installation can provide valuable insights and prepare you for the task ahead. It’s always better to be over-prepared rather than missing crucial components mid-installation.
Organizing the tools and materials beforehand provides a streamlined workflow during the replacement process. Labeling the different parts of your new garage door can be incredibly helpful in understanding what goes where, reducing installation confusion. Make sure you have a safe area to place all components to avoid any loss. Furthermore, consider partnering with a friend or family member since an extra set of hands is often necessary for managing the larger parts safely. Proper preparation sets the foundation for a successful garage door replacement project.
2. How Do I Measure My Garage Door Correctly?
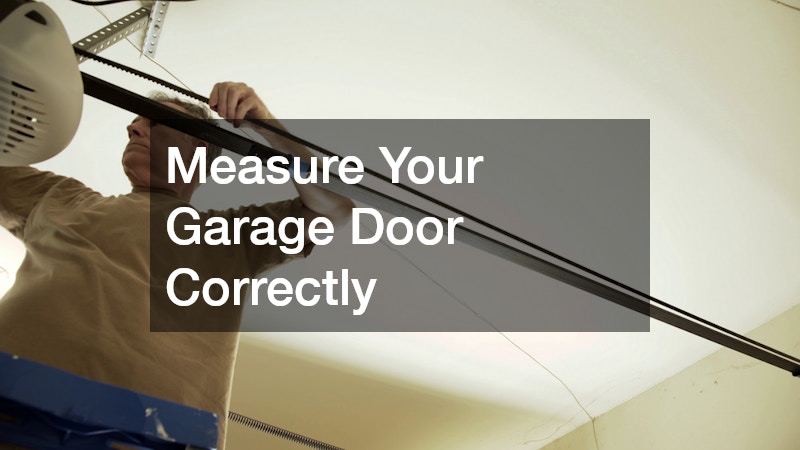
Accurate measurements are critical when replacing your garage door, as incorrect numbers can lead to significant installation issues. Start by measuring the door opening width at the widest point from inside edge to inside edge. Next, measure the height from the floor to the top of the opening, ensuring that you account for any sloping or irregular surfaces. It’s important also to measure the space between the top of the opening and the ceiling—often called headroom—and the backroom, which is the length of the garage extending backward from the door. These measurements will help determine the garage door size to ensure proper fit and operation.
While measuring, take note of any obstacles or peculiarities that may affect door installation, such as low ceilings or pipes. These can dictate the type of garage door system (e.g., torsion vs. extension springs) that will be most suitable for your setup. Double-check each measurement for accuracy, as even small errors can lead to fitting problems. Consider drawing a sketch of the garage layout with the measurements labeled for easy reference during the ordering process. Keep all measurements handy when consulting with garage door suppliers to ensure you purchase the correct door for your space.
In addition to measuring the door dimensions, assess the overall condition of the garage structure. Look out for any damages or structural weaknesses that might need repairing before installation. Proper alignment of the door is crucial, and uneven garage surfaces can affect the track and roller alignment, leading to operational challenges. If you find structural issues, consult a professional to rectify any problems early. Once the structure is ready and measurements are verified, you can confidently move forward in selecting and ordering your replacement garage door.
3. How Do I Remove the Existing Garage Door Safely?
Removing a garage door safely is vital to prevent damage or injury. Begin by disconnecting the garage door opener to ensure no accidental activation occurs while you work. If your garage door uses an extension spring system, safely removing these springs is an essential first step, requiring tension to be released carefully to avoid them snapping back. Torsion spring systems require different handling, utilizing winding bars to safely unwind the tension without risk of spring breakage. After the springs are neutralized, unscrew any components that connect the door panels to the tracks and carefully remove the panels one by one, working from top to bottom.
Stay attentive to potential hazards such as sharp edges or the weight of the garage door panels. Having an extra person assisting with the removal process is advantageous, providing support and an added layer of safety when handling cumbersome components. Always ensure the work area remains clear of obstacles and personal belongings, as the panels can be large and unwieldy when removed. If uncertain about handling certain elements or the risk feels too high, consulting a professional for this portion is a wise choice, preventing accidents and ensuring a safe removal procedure.
Proper disposal of the old garage door materials is environmentally and community-friendly. Many communities offer recycling programs for materials like metal and glass, and disposing of hazardous components such as springs should follow local regulations. Setting the old materials aside for collection and clean-up can help prepare the area for the new installation. Documenting each step of the removal process with photos can help guide the installation phase, providing a helpful reference on how components are connected. With the old door safely removed, you are ready to integrate your new garage door system.
4. What Are the Steps to Installing a New Garage Door?
Installing a new garage door involves several precise steps to ensure it operates smoothly and safely. Start by assembling the tracks as instructed in the garage door kit, ensuring every connection is secure and correctly aligned. Next, position the first panel in the doorway and secure it in place with the provided hardware, checking for levelness before proceeding to the other panels. Carefully attach subsequent panels, securing each to the tracks as you progress upward, and continually check that everything remains square and in alignment with the floor and walls. Each step should be double-checked for secure fittings to ensure the door’s stability when in operation.
Once the panels are securely in place, the next step is to install the necessary hardware to guide and operate the door. Attach the rollers and insert them into the tracks, being careful not to scratch or damage them. Position the springs (or alternatively configure the spring system) according to the manufacturer’s instructions, ensuring the applied tension is balanced and secure. Mount the garage door opener if it’s being replaced and conduct a series of tests to confirm smooth and steady operation under power, making any necessary adjustments to the opener settings for correct movement. Be sure to test the door both manually and with the opener several times to guarantee it operates without issue.
Final touches upon installation include adding weather seals and testing the safety features. Install the bottom seal and weatherstripping along the door sides to prevent drafts and moisture intrusion. Confirm the garage door opener’s safety sensors are calibrated and working correctly, stopping the operation if an obstruction is detected in the doorway. Regular checks and maintenance post-installation can preserve the function and appearance of the new garage door, extending its life. With everything set and tested, your new garage door should function smoothly, enhancing both your home’s functionality and aesthetic.
5. How Do I Maintain My Newly Replaced Garage Door?
Ensuring the longevity of your newly installed garage door requires regular maintenance and attention. Begin with a routine visual inspection every few months to catch any signs of wear or stress in its early stages, such as misaligned tracks or fraying cables. Regularly clean the door panels and tracks, removing any build-up of dirt or debris that could hamper smooth operation. Lubricating moving parts like rollers, hinges, and springs with a high-quality silicone-based lubricant helps maintain effortless functionality and prevent rust. Keeping the door balanced and secured tightly avoids undue stress on individual components, lessening wear over time.
In addition to visual inspections, pay attention to how the garage door operates. Listen for unusual sounds during operation, as these could indicate problems such as loose hardware or worn-out bearings. Balance tests are also helpful; disconnect the opener and manually raise the door halfway to check its stability. If the door doesn’t remain steady, it may require spring adjustments or further inspection to resolve underlying issues. Scheduling regular professional check-ups can provide additional peace of mind, ensuring that specialized components and safety mechanisms are functioning correctly and safely.
Beyond mechanical upkeep, have a consistent schedule to inspect safety features. Ensure that the auto-reverse mechanism on the garage door opener responds appropriately if it detects an obstacle. Testing the remote controls and wall switches at intervals confirms that electronic components are in top working condition. By implementing a comprehensive maintenance routine, you’re positioned to enjoy a smoothly functioning garage door that enhances your home’s functionality and security. With due diligence, you can extend the life of your new installation and enjoy its benefits for years to come.
Replacing your garage door is a task that, with careful planning and execution, can be accomplished by most dedicated DIY enthusiasts. This guide has provided an overview of the essential steps and considerations. By following these guidelines, you can ensure a successful garage door installation that improves the functionality and aesthetic of your home. Moving forward, the skills acquired through this project can empower you to tackle other home improvement endeavors with increased confidence and know-how. Embrace the rewards of your hard work and the new look it brings to your home, knowing that you contributed significantly to its outcome.